Install Sedona SQL
Note
This tutorial is for you to manually install Sedona on Snowflake. If you want to use Sedona on Snowflake without manually installing it, you can use the free SedonaSnow native app shipped by Wherobots.
Prerequisites
To install Sedona on Snowflake, you need to prepare a Snowflake account and a Snowflake user that can access at least one DATABASE and run at least one WAREHOUSE. Then you can follow the steps below to install Sedona on Snowflake.
You can refer to Snowflake Documentation to how to create a DATABASE.
In this tutorial, we will use a database created by the following SQL statement. But you can use any database you want.
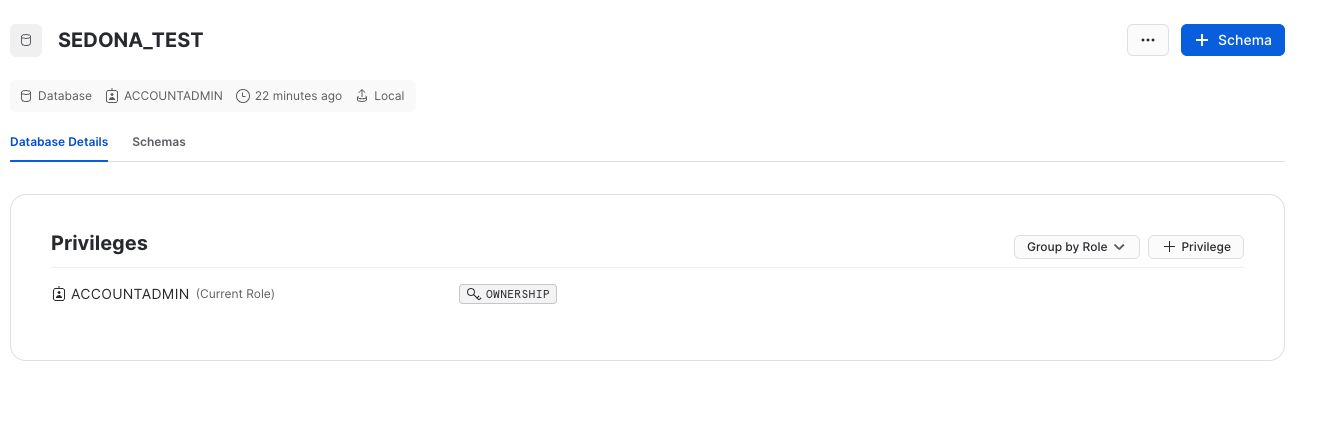
CREATE DATABASE SEDONA_TEST;
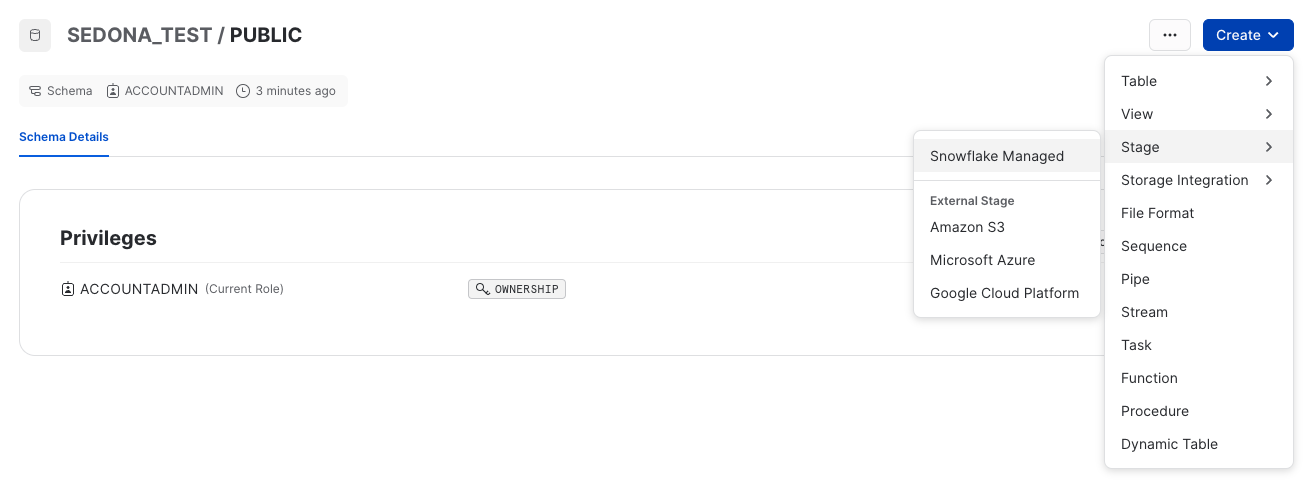
Step 1: Create a stage in the database
A stage is a Snowflake object that maps to a location in a cloud storage provider, such as Amazon S3, Azure Blob Storage, or Google Cloud Storage. You can use a stage to load data into a table, or unload data from a table.
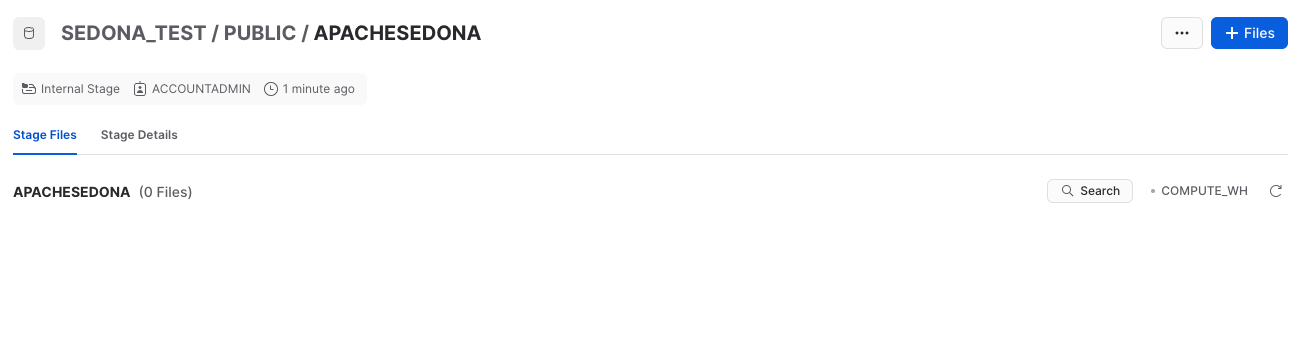
In this case, we will create a stage named ApacheSedona in the public schema of the database created in the previous step. The stage will be used to load Sedona's JAR files into the database. We will choose a Snowflake managed stage.
After creating the stage, you should be able to see the stage in the database.
You can refer to Snowflake Documentation to how to create a stage.
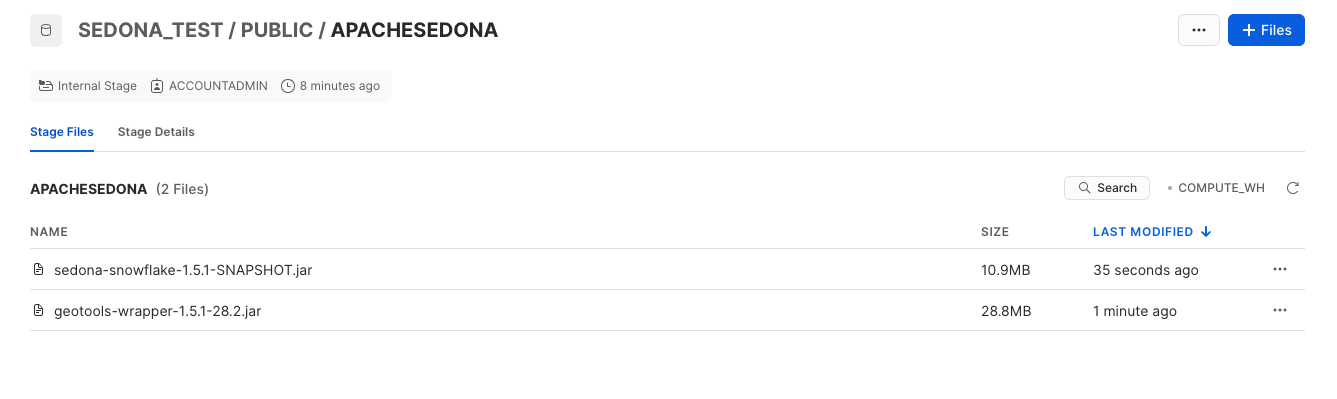
Step 2: Upload Sedona's JAR files to the stage
You will need to download the following 2 JAR files:
- sedona-snowflake-1.9.0.jar: Sedona's Maven Central repository
- geotools-wrapper-1.9.0-33.5.jar: GeoTools-wrapper's Maven Central repository
Then you can upload the 2 JAR files to the stage created in the previous step.
After uploading the 2 JAR files, you should be able to see the 2 JAR files in the stage.
You can refer to Snowflake Documentation to how to upload files to a stage.
Step 3: Create a schema in the database
A schema is a Snowflake object that maps to a database. You can use a schema to organize your tables into groups based on business functions or other categories.
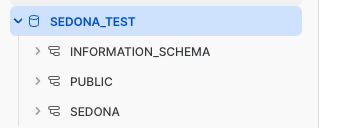
In this case, we will create a schema named SEDONA in the database created in the previous step. The schema will be used to create Sedona's functions.
You can find your schema in the database as follows:
You can refer to Snowflake Documentation to how to create a schema.
Step 4: Get the SQL script for creating Sedona's functions
You will need to get this SQL script by running the following command:
java -jar sedona-snowflake-1.9.0.jar --geotools-version 1.9.0-33.5 > sedona-snowflake.sql
sedona-snowflake-1.9.0.jar is the JAR file downloaded in Step 2.
Step 5: Run the SQL script to create Sedona's functions
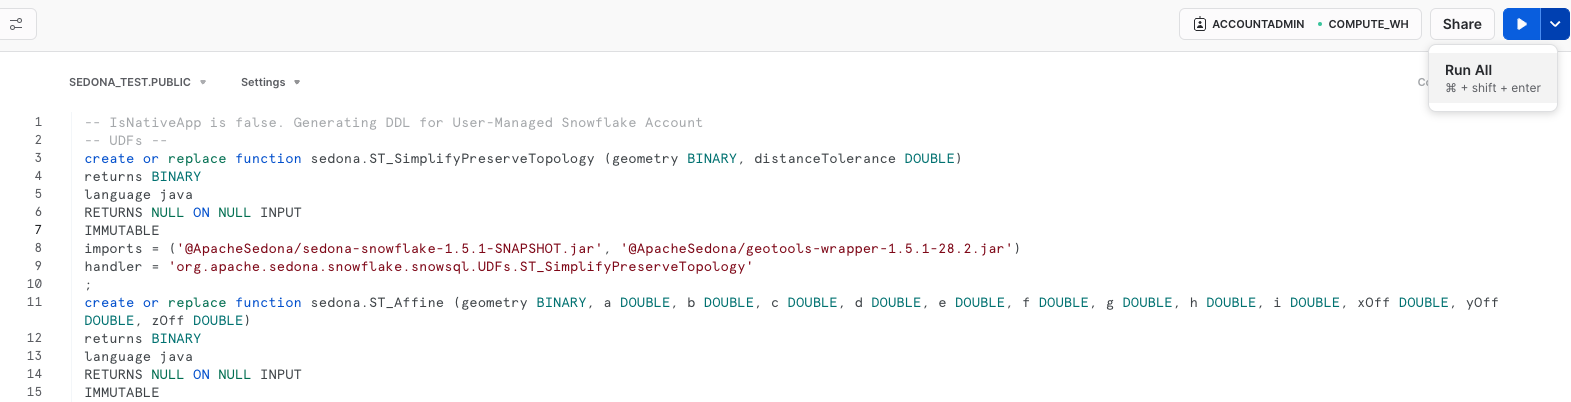
We will create a worksheet in the database created in the previous step, and run the SQL script to create Sedona's functions.
In this case, we will choose the option Create Worksheet from SQL File.

In the worksheet, choose SEDONA_TEST as the database, and PUBLIC as the schema. The SQL script should be in the worksheet. Then right-click the worksheet and choose Run All. Snowflake will take 3 minutes to create Sedona's functions.
Step 6: Verify the installation
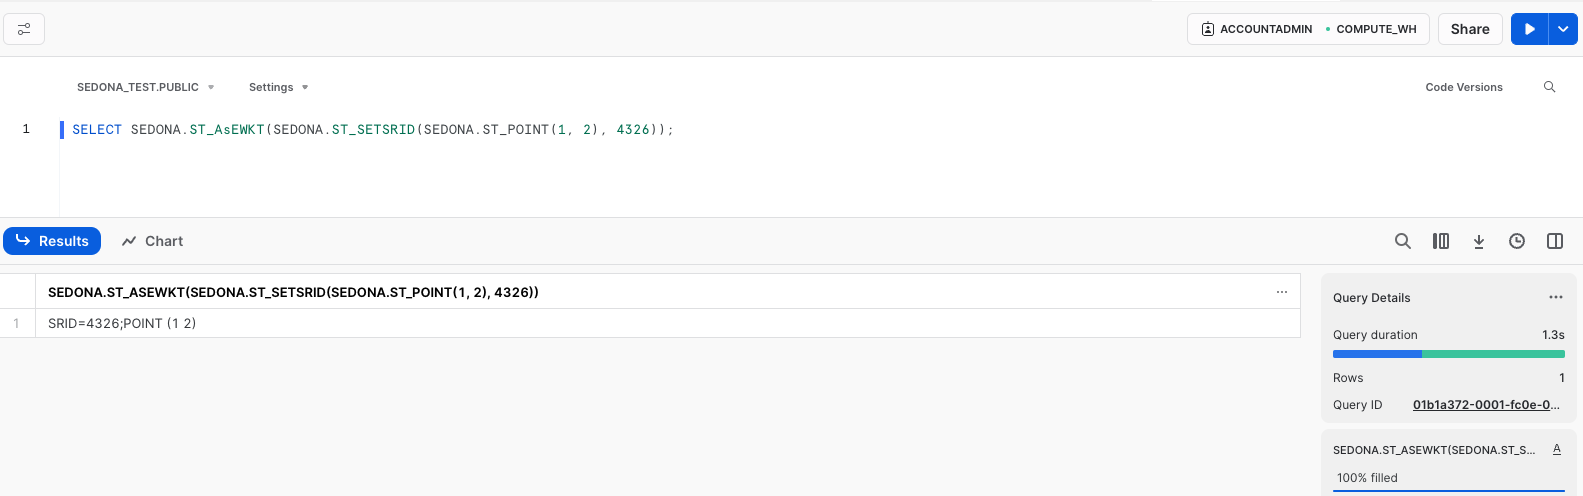
Open a new worksheet, choose SEDONA_TEST as the database, and any schema as the schema. Then run the following SQL statement:
SELECT SEDONA.ST_AsEWKT(SEDONA.ST_SETSRID(SEDONA.ST_POINT(1, 2), 4326));
You should be able to see the following result:
SRID=4326;POINT (1 2)
The worksheet should look like this: